
Your summer shot list.
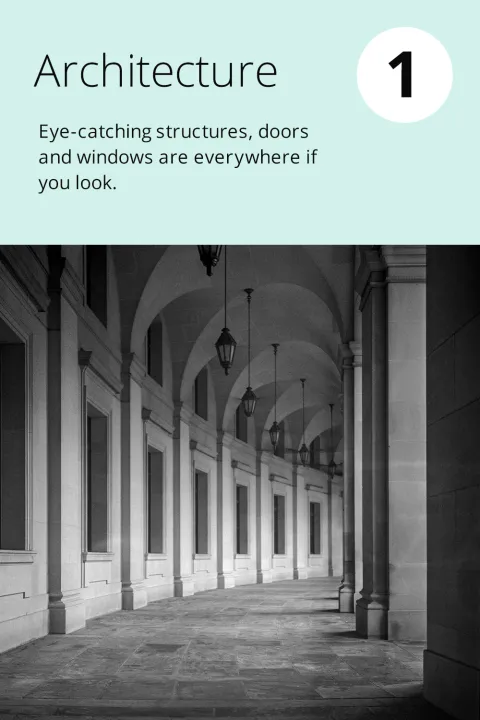
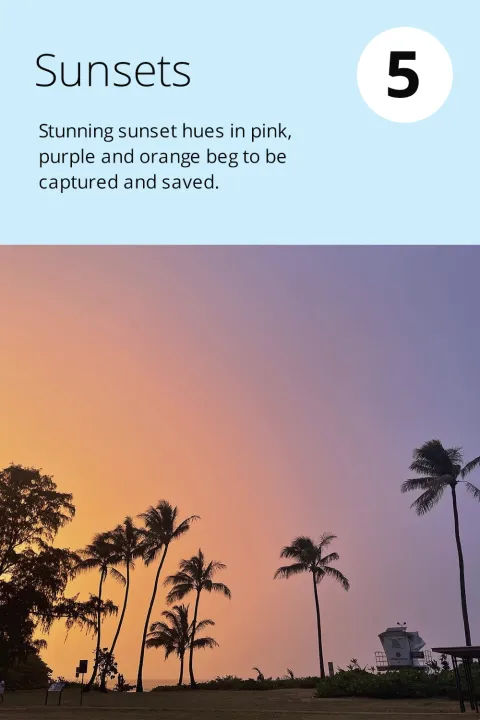
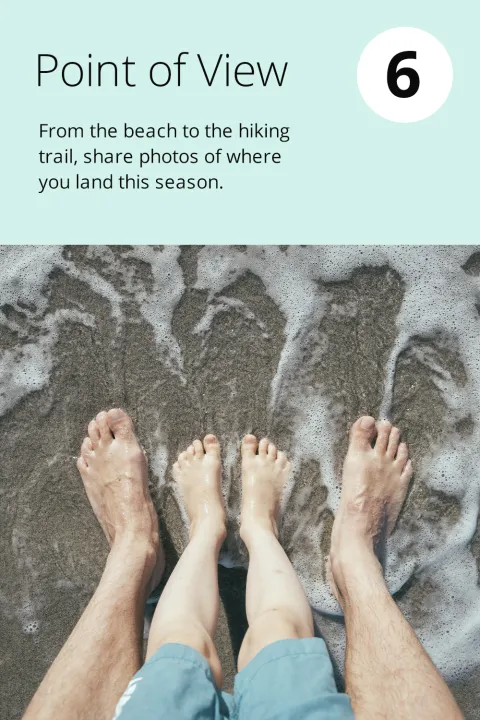
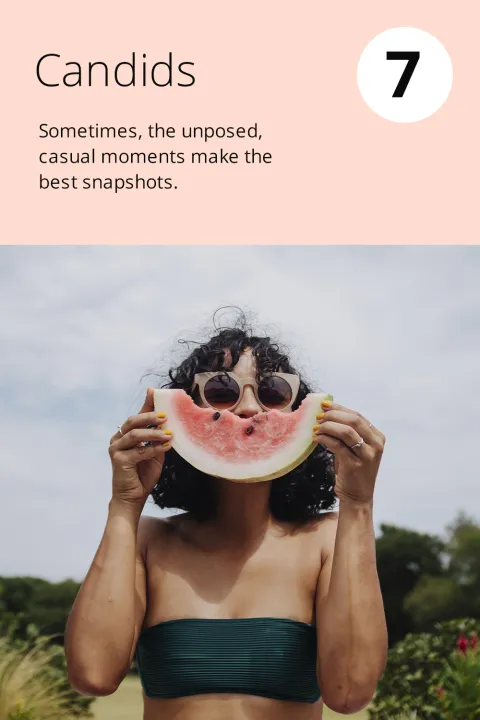
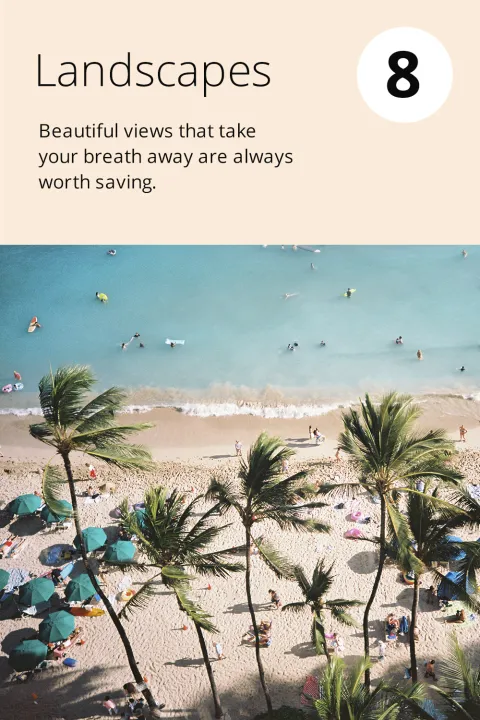
Capturing beautiful photos from the season is easy - here are 8 ideas of things to take photos of this summer.
And once you're ready to print, click the link below to find a Kodak Moments Kiosk near you.
Let summer live on.
Whether you packed up the car, boarded a train or took to the seas, make every sun-filled snapshot from your phone last with our favorite decor ideas below.
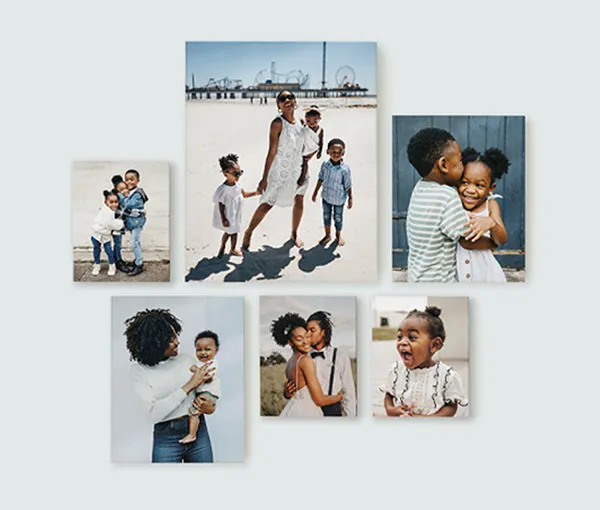
Modern Asymmetric Photo Gallery Wall
Get creative with your gallery wall layout. Mix and match different sizes of canvas so you can tell a story with a series of your favorite photos and break away from traditional symmetrical layouts. You will get a dynamic and contemporary beautiful photo display.
- Select Frames: Choose a variety of frames in different sizes and orientations (landscape and portrait). Opt for a cohesive color scheme for the frames to maintain a unified look.
- Print Photographs: Select and print photographs that hold personal significance or aesthetic appeal. Ensure the images vary in content and style to add visual interest.
- Arrange Asymmetrically: Lay out the frames on the floor first to experiment with different arrangements. Aim for an asymmetrical layout that feels balanced yet dynamic. Avoid aligning the frames in straight lines.
- Mark and Hang: Once satisfied with the arrangement, mark the positions on the wall using a pencil. Use nails or picture hangers to securely hang each frame according to the marked positions.
- Add Text: If desired, add text above and below the gallery wall. You can use vinyl lettering or stencils
This approach will help you create a modern and visually engaging gallery wall that showcases your personal style and memories. Enjoy !
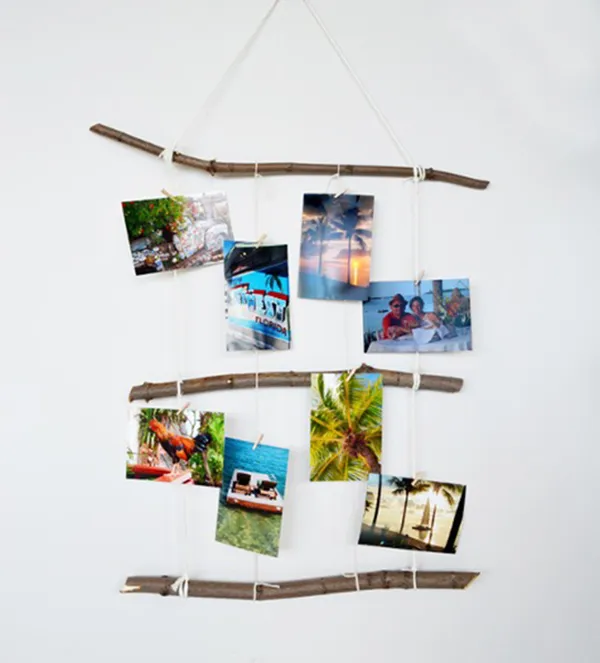
Natural Elements Photo Display
For a natural look, hang your outdoor photos from driftwood. Use this creative approach to display memories in a decorative manner.
- Gather Materials: Collect three sticks of wood. You will also need string, photographs, and a pair of scissors.
- Prepare the Sticks: Arrange the sticks so that the two horizontal sticks are at the top, middle and bottom of the structure. Secure the sticks together using string.
- Select and Print Photos: Choose photographs that represent travel, vacation memories, your children, friends or any other topic of your choice. Print them in a size that fits well within the mobile structure.
- Attach Photos to Sticks: Use string to attach the photographs to the vertical sticks. Tie the string securely around the top of each photo and then to the sticks, ensuring they hang evenly. Alternatively, you can also use pegs
- Hang the Mobile: Find a suitable location to hang your photo mobile. Use a hook or nail to secure the top horizontal stick to the wall or ceiling.
This approach will help you create a beautiful and personalized photo mobile that showcases your cherished memories in a unique and decorative way. Enjoy crafting your display! 🌟
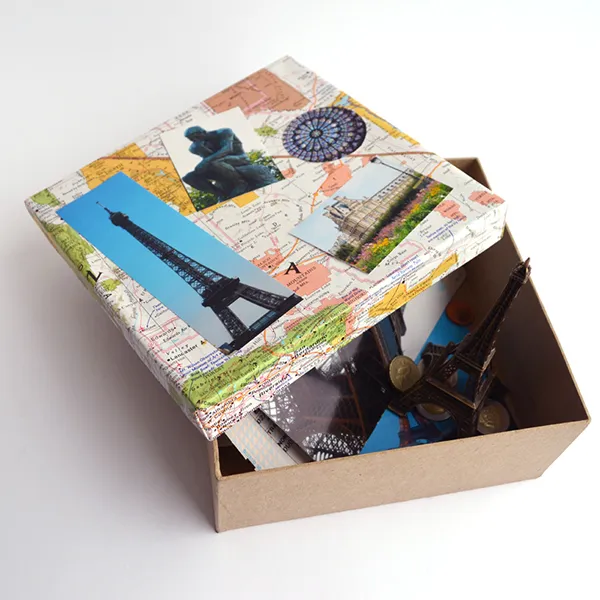
Vacation Scrap Box
A new (and simpler) twist on a scrapbook is a photo scrap box. Using a box also allows you to include three-dimensional items that don't fit in a scrapbook.
- Select Pictures: Gather or create square-shaped and regular prints. You can use photos that represent different themes such as maps, architecture, pets, food and nature.
- Cut Prints: Print the selected images on photo paper. Cut them into uniform square shapes to ensure consistency.
- Prepare a Box: Find an open box that can hold the pictures. The box should be large enough to allow the pictures to be placed haphazardly but still visible.
- Arrange the photos: Place the prints on the box. Ensure that the images are visible and create an interesting mix of themes.
- Label the box: If desired, label the box or the prints to indicate the themes or locations represented.
This approach will help you create a visually engaging and versatile collection that can be used for various purposes. Enjoy crafting your unique display! 🌟

Panoramic Photo Display
Turn beautiful scenic panoramic photos into a banner to display in your home.
- Select the right photography: Choose one panoramic photo that represents a vacation scenes or a scene of your choice.
- Print and Prepare Photos: Print the selected photo. You can use photo paper for a glossy finish or regular paper for a matte look. Cut the photo into regular pieces vertically.
- Gather Materials: Collect a length of string or twine and five small clothespins or clips. You will also need a hook or nail to hang the string.
- Hang the String: Attach the string horizontally on a wall using a hook or nail. Ensure it is taut and secure.
- Attach Photos: Use the clothespins or clips to attach the photographs to the string. Space them evenly along the length of the string.
- Display: Position the photo line in a well-lit area where it can be easily viewed. This display will add a touch of charm to your space.
Enjoy creating your own personal themed photo line! 🌟
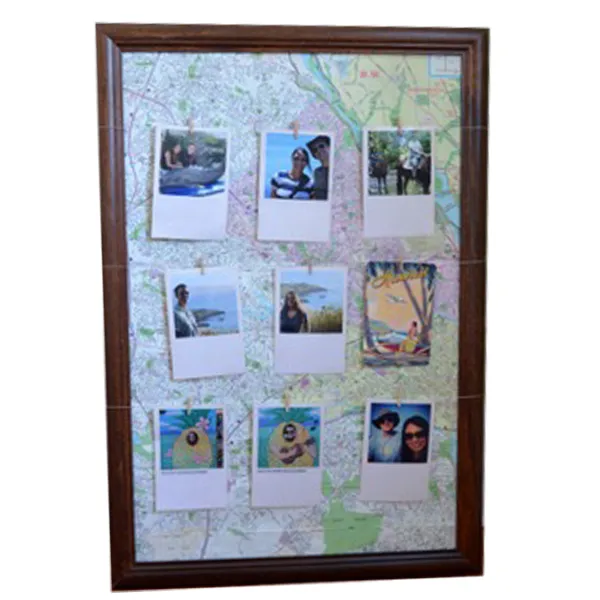
Map It
A map of your getaway spot makes an excellent background to showcase your vacation photos. . The combination of the map and photographs suggests a theme of travel or exploration, making it interesting as it represents your personal journeys or geographical connections.
- Select a Frame: Choose a large frame that can accommodate a 3x3 grid of photographs. Ensure the frame has a sturdy backing to support the collage.
- Prepare the Map Background: Find a map that holds personal significance or represents places you’ve visited. Cut the map to fit the size of the frame’s backing.
- Print Photographs: Select and print nine photographs that represent different memories or locations. Ensure the photos are of uniform size to fit neatly in the grid.
- Arrange the Photos: Lay out the photographs on the map background in a 3x3 grid pattern. Experiment with the arrangement until you achieve a balanced and visually appealing layout.
- Adhere the Photos: Use double-sided tape or photo corners to attach the photographs to the map background. Ensure they are securely fixed and evenly spaced.
- Frame the Collage: Place the map with the attached photographs into the frame. Secure the backing and ensure the collage is centered and straight.
- Display: Hang the framed collage on a wall or place it on a shelf where it can be easily viewed. This display will serve as a beautiful reminder of your travels and experiences.
Enjoy creating your personalized travel-themed collage! 🌟
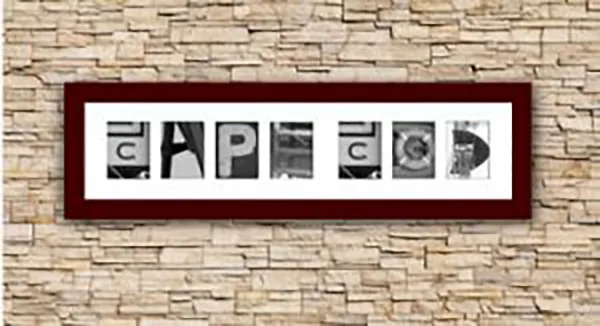
Photo Letters
While on vacation photograph objects that look like letters to spell your name or vacation destination. The kids will love helping to spot letters. Black and white prints made on the KODAK Picture Kiosk will really make the letters stand out nicely on your wall.
- Select Picture Frames: Buy one large picture frame and cut out small, square-shaped picture frames on a sheet of paper or purchase pre-made frames that you can customize by painting or decorating.
- Select the photo letters and plan the Layout. Lay out the frames on a flat surface to check the arrangement is pleasing.
- Adhere the photo to the individual photo holes: Use strong glue or double-sided tape to attach the frames to the surface. Arrange them in the right order, overlapping slightly for an artistic effect.
- Hanging Options: Hang the frame on a wall. Use picture hooks or adhesive strips to secure it.
This approach will help you create a visually engaging and unique display using pictures. Enjoy expressing your creativity! 🌟